Step 1
1. Drawing a Rectangle
The center of the application is the drafting area. Red and green coordinate axes are displayed near the center, and their intersection is the origin (0,0). Objects are drawn based on this coordinate system.
First, let's draw a rectangle. Assuming we want to print on A4 size paper, we will draw a rectangle with dimensions of 210mm x 297mm.
Enter commands into the command line located at the bottom of the window.
Type "RECTANG" into the command line and press the Enter key. Typing up to "REC" activates autocomplete, allowing you to select the command before finishing the full word.
The Enter key and the Space key have the same effect for command execution. Using the Space key is often more efficient during drafting.
When the prompt "Specify first corner point:" appears, type "0,0" and press the Space key to confirm.
When the prompt "Specify opposite corner point:" appears, type "210,297" and press the Space key to confirm.
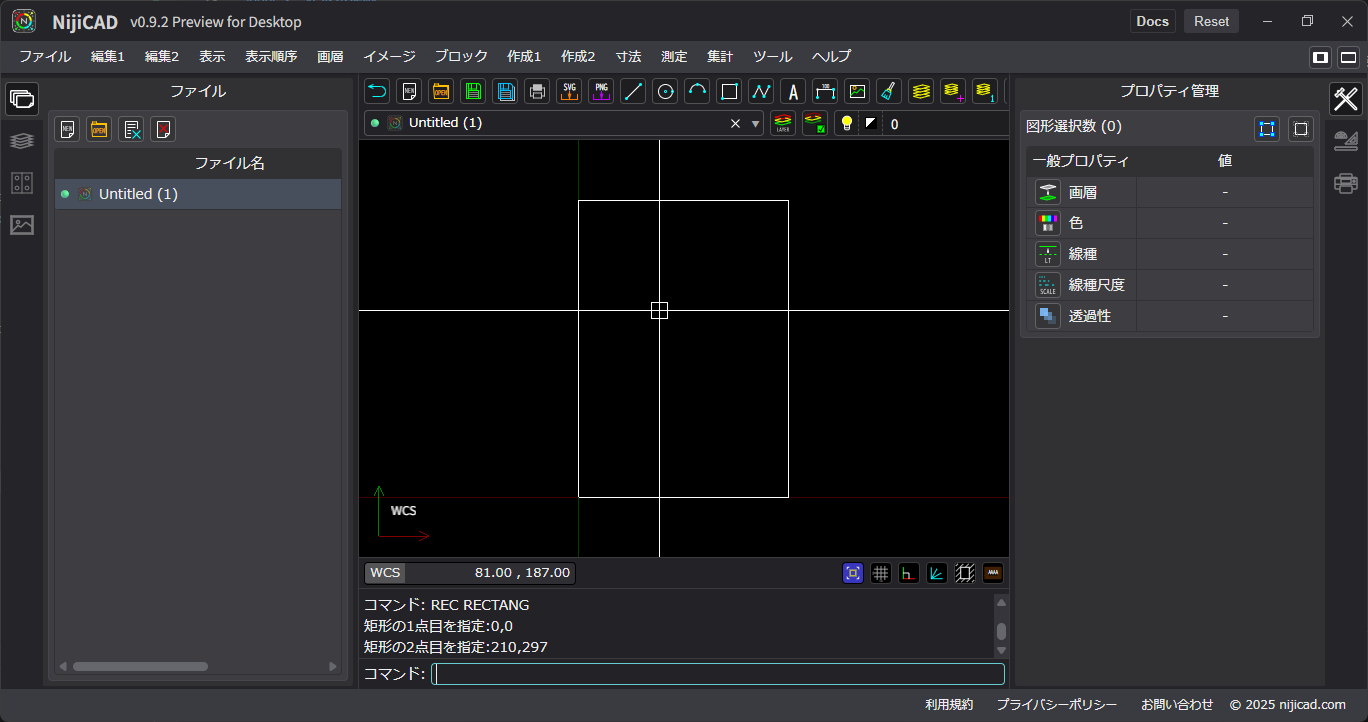 The rectangle is now drawn. Assuming one unit in the drafting area represents 1mm, you have drawn an actual-size A4 sheet.
2. Panning and Zooming the Display
To move the display range (pan) or change the magnification (zoom), use the mouse wheel button.
Hold down the mouse wheel button and drag to move the display range. The view follows from the point where the button was pressed. Movement stops if the cursor goes outside the drafting area but resumes relative to the pressed position once the cursor returns inside.
Scroll the wheel button up and down to zoom in and out. Scrolling up zooms in, and scrolling down zooms out.
Additionally, you can use the "ZOOM" command to show a specific window range or display all objects in the drawing (Zoom Extents).